Best Methods for Cleaning Vehicle Seat Belt Buckles
Why Seat Belt Buckles Get Dirty Over Time
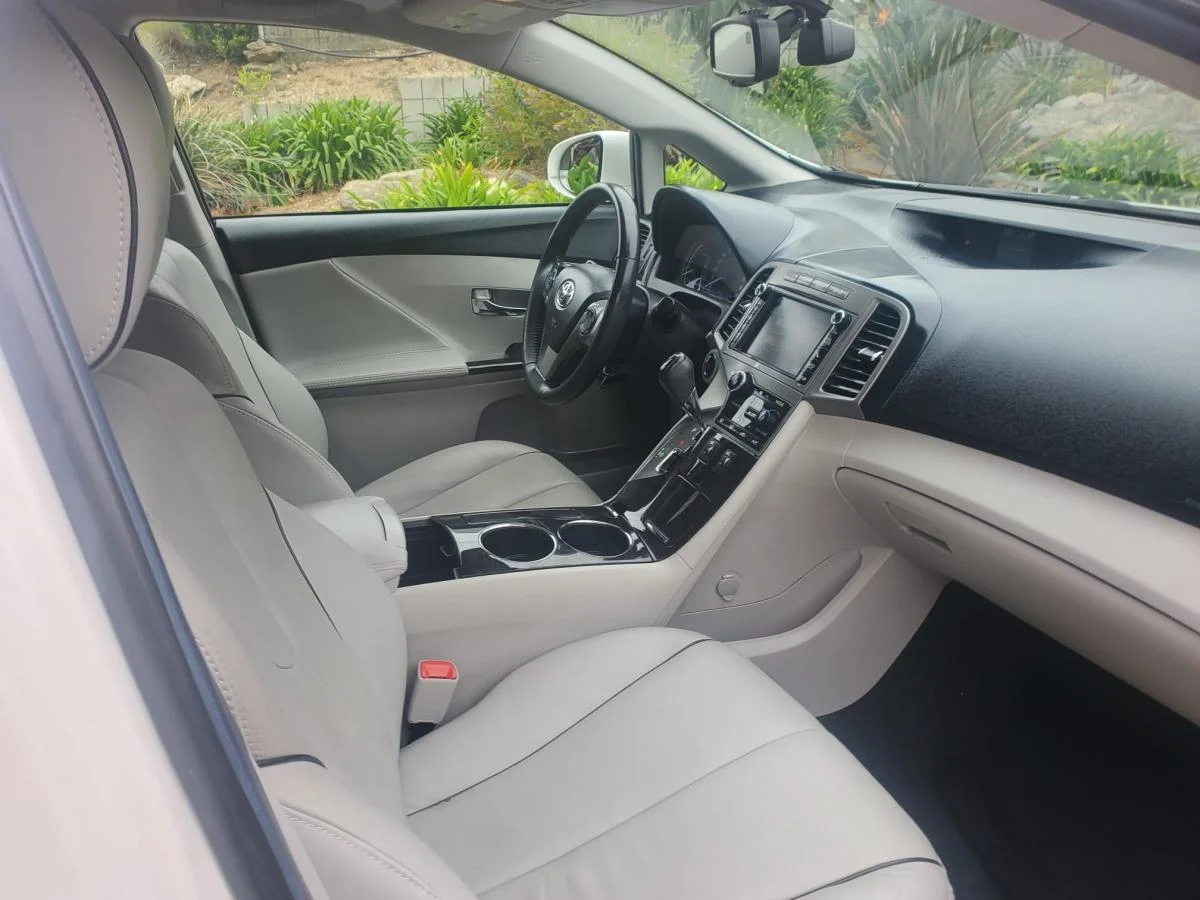
Unlike visible interior surfaces, buckles collect grime in subtle ways. Dirt builds up inside the release button and around the latch opening where the metal tongue inserts.
Common contaminants include:
- Dust and road debris
- Food crumbs
- Sticky drink residue
- Hand oils
- Fabric lint from clothing
- Cleaning chemical residue from interior sprays
One common mistake I often notice is people spraying interior cleaner directly into the buckle opening. While the intention is good, excess liquid can seep inside the mechanism and slow down the spring action over time. Buckles are more sensitive than they appear.
Start With a Dry Cleaning Approach
Before using any liquid, begin with a dry cleaning method.
This helps remove loose debris without pushing dirt deeper into the mechanism.
Use:
- A soft detailing brush
- Compressed air (low pressure)
- A dry microfiber cloth
- A plastic pick (only if necessary and used carefully)
Focus on:
- Around the release button
- Inside the latch slot
- The outer housing edges
Compressed air works particularly well for dislodging crumbs trapped inside the mechanism.
Insider Tip: Tap and Release Method
A simple but effective technique is lightly tapping the buckle while pressing the release button repeatedly. This helps loosen debris that is stuck inside the spring channel. Combine this with short bursts of compressed air for better results.
It is a small step, but it often reduces the need for heavy cleaning products.
Use a Mild Cleaning Solution
Once loose debris is removed, you can move on to a gentle cleaning solution.
A safe mixture typically includes:
- Warm water
- Mild interior cleaner or diluted all-purpose cleaner
Apply the solution to a microfiber cloth rather than spraying directly onto the buckle.
Wipe carefully around:
- The button surface
- Plastic housing
- Visible crevices
Avoid soaking the buckle. Moisture should never be allowed to pool inside the latch opening.
Cleaning the Latch Opening Area
The latch opening is where most buildup occurs, yet it is also the most sensitive area.
To clean it properly:
- Insert a soft brush lightly into the opening.
- Rotate gently to loosen debris.
- Use compressed air to remove loosened particles.
- Wipe surrounding edges with a damp cloth.
This combination ensures both visible and hidden grime is removed without forcing contaminants deeper inside.
Drying Is Just as Important as Cleaning
After cleaning, drying the buckle thoroughly is essential.
Moisture left inside the mechanism can lead to:
- Slower release action
- Sticky button feel
- Dust accumulation sticking more easily
Use:
- A dry microfiber towel
- Compressed air to push out trapped moisture
Move the button repeatedly while drying to help internal components reset naturally.
Removing Sticky Residue
Sticky residue is common, especially in vehicles where drinks or food spills are frequent.
To address it:
- Use a slightly damp microfiber cloth with diluted cleaner
- Wipe repeatedly in short motions
- Avoid heavy scrubbing
If residue is stubborn, allow the solution to sit briefly on the cloth (not directly on the buckle) before wiping again.
Insider Tip: Cotton Swab for Precision Cleaning
A cotton swab lightly dampened with cleaner works very well for tight edges around the release button. It allows more control than a cloth and reduces the risk of excess moisture entering the mechanism.
This is especially useful for older buckles where grime builds up unevenly around button edges.
Checking Buckle Function After Cleaning
Once cleaning is complete, always test the buckle.
Check for:
- Smooth button press
- Clear clicking sound when latched
- Quick release action
- No sticking or resistance
If the buckle still feels sluggish, repeat a light cleaning cycle rather than increasing chemical strength.
Mechanical issues are usually caused by trapped debris, not internal failure.
Common Mistakes to Avoid
Seat belt buckles are durable, but improper cleaning techniques can shorten their lifespan or affect performance.
Spraying Cleaner Directly Inside
This is one of the most common mistakes. Excess liquid can affect internal springs.
Using Sharp Metal Objects
Metal tools can damage the internal release mechanism or scratch the housing.
Overusing Lubricants
Some people attempt to “fix” stiffness with lubricants. This often attracts more dirt and worsens the issue over time.
Ignoring Drying Time
Even small amounts of leftover moisture can affect performance.
I’ve seen cases where buckles felt perfectly clean after washing but became sticky a few days later simply due to trapped moisture inside the release channel.
Deep Cleaning for Heavily Soiled Buckles
In vehicles that have seen heavy use, such as rideshare cars or family vehicles, buckles may require deeper cleaning.
Steps include:
- Removing surface debris first
- Repeating mild solution cleaning multiple times
- Using compressed air between cycles
- Allowing longer drying time
Patience is key here. Rushing the process often pushes dirt deeper rather than removing it.
Interior Context Matters
Seat belt buckles do not exist in isolation. Their cleanliness often reflects the overall interior condition.
Vehicles with regularly cleaned interiors tend to have:
- Less sticky residue buildup
- Reduced dust accumulation
- Better functioning mechanical components
According to detailing professionals who regularly maintain high-use vehicles, consistent interior care plays a major role in preserving small but important components like buckles. Similar maintenance practices are highlighted in this guide on car wash montrose ca, where attention to interior detail helps extend the usability of everyday vehicle systems.
Preventing Future Buildup
Once buckles are clean, a few simple habits can help keep them that way longer.
Consider:
- Wiping interiors regularly
- Avoiding food spills near seat areas
- Cleaning hands before touching buckles (especially after snacks or drinks)
- Light interior vacuuming around seat bases
These small habits reduce the amount of debris reaching the buckle mechanism.
Seasonal Impact on Buckle Cleanliness
Different seasons affect interior cleanliness more than people realize.
Summer
Sweat, sunscreen residue, and increased travel can leave sticky buildup.
Winter
Salt dust and wet clothing introduce fine particles into interior areas.
Spring
Pollen easily settles into small openings and mechanisms.
Fall
Dust and organic debris increase, especially from clothing and outdoor activity.
Adjusting cleaning frequency based on seasonal conditions helps maintain smoother buckle operation.
Final Thoughts
Cleaning seat belt buckles is a small but important part of interior maintenance that directly affects daily usability. While they may seem simple, their internal mechanisms require careful handling and gentle cleaning methods.
A combination of dry debris removal, mild cleaning solutions, proper drying, and occasional detailed attention keeps them functioning smoothly. More importantly, regular interior care prevents buildup from becoming a recurring issue.
Also read for more information so click here.